Tuesday, September 28, 2010

Banana Bread- Scratch that- Banana Chocolate Chip Bread


Once again, I found myself looking for a recipe online. Sometimes there are so many that look worth trying that I wonder, "Which one should I try?" Well, a couple years ago, I chose this one for Banana Bread.... and I haven't tried to find another one. I have made it many times, and every time, it has turned out right- no, not just right, it's turned out grand. I have even put the batter into two mini loaf pans rather than one big one, and that has also turned out great. The following is the link to the website I found it on:


http://simplyrecipes.com/recipes/banana_bread/


The only way I have tweaked the recipe is by adding chocolate chips to it. I love chocolate, as do the people I cook for- my sisters. One of my sisters won't even touch Banana Bread that doesn't have chocolate chips in it. I must admit, I also prefer it with chocolate. I have never measured how much I put in, but I'd venture to guess 1/2 a cup.


Ingredients:


  • 3 or 4 ripe bananas, smashed (I usually use 4)

  • 1/3 cup melted butter

  • 1 cup sugar (recipe says this can easily be reduced to 3/4 cup, which I have never done)

  • 1 egg beaten

  • 1 teaspoon vanilla

  • 1 teaspoon baking soda

  • Pinch of salt

  • 1 1/2 cup of all-purpose flour


Preheat oven to 350. Mix butter into already mashed bananas in a large mixing bowl. Mix in the sugar, egg, and vanilla. Sprinkle the baking soda and salt over the mixture and mix in. Add the flour, mix in. At this point you would pour in the chocolate chips, if you want them in the bread. Pour mixture into greased 4x8 in. loaf pan. Bake for 1 hour, if an inserted toothpick comes out clean, it is done. Cool on a rack. Removie from pan slice to serve.


TIP: No toothpicks on hand? Use part of an uncooked spaghetti noodle

Monday, September 13, 2010

Flavored Rice

So, I made a very healthy dinner tonight... Salmon, rice and green beans. Those three things are all rather bland items so each of them needs some spicing up. The salmon I doused in lemon juice as usual, the green beans I buttered up and sprinkled with lemon pepper, the rice... well, the rice I was drawing a big fat blank on. How in the world does one spice up or season rice??? With this thought in mind, I googled "flavorful rice". I found several plausible options if I were a bean fan... so I kept sifting through the links and found this one, which was actually one of the first choices.
http://allrecipes.com//Recipe/flavorful-rice/Detail.aspx I tweaked this recipe quite a bit. The first thing I noticed was that I most definitely did not need 3 cups of rice, and I don't have a rice cooker, and I did NOT want the tomatoes in it, AND I only had minute rice on hand when the recipe calls for regular rice. So I decided to change the recipe a little bit, which I have switched recipes before but not a lot so I'm always a little nervous when I'm doing it.

But I went ahead with it and this is what I did:

According to the rice box directions for 1 cup of rice I needed 1 cup of water. So I put 3/4 cup of water in a pot, and then added 1 TBSP of olive oil and 1 TBSP of vinegar. Then I sprinkled oregano, salt, and pepper (I didn't have basil on hand) into the water solution which I then set to boil. After it started boiling, I poured in the cup rice, stirred it, covered it, removed it from heat, let it sit for 5 minutes (per box directions). After the 5 minutes, I checked the rice, it seemed a little too moist, and since the rest of dinner was not yet ready, I let it sit longer. By the time we were ready to eat, the rice was ready too. It was yummy and I would make it again. Have fun.

Tuesday, July 20, 2010

Rice and Sausage, or is that Hamburger, Bake


(Sorry, the pics didn't go where I wanted them to and they are backward... oops, but at least they are there)


I have made this meal many times, most of the time I make it just the way the recipe calls for, other times, I use hamburger rather than the Hot Italian Sausage cuz it's all I have. That is what I did tonight. The only other time that I have used hamburger rather than the sausage was ok, but not great. I did hamburger and salsa rather than the spaghetti sauce, trying to create the missing zip that hot sausage gives with the salsa. It came out watery and I don't think I liked the rice either as I believe I used brown rice which I dislike but it also didn't taste right in this bake.


Tonight, though, I tried a different approach with the hamburger. I seasoned it with cajon seasing. I'm not sure of how much I put in there, so I'll just say what I hate other recipe people saying... "season to taste". This turned out much better. One of my sisters said it was too hot, another said it was just right... I liked it, and I think that the meat in this recipe needs to lean towards the hot side. The following is the link to the recipe. http://www.cooks.com/rec/view/0,1942,157172-236205,00.html


I like this recipe because after preparation, it only takes 20 minutes to bake. This is because eveything is already cooked, it just all needs to get heated. I would think you would even be able to prepare this in the morning or the night before and then put it in the oven when you got home.
Ingredients:
1 pound hot italian sausage or 1 pound ground beef (seasoned heavily)
Spaghetti sauce
Rice (I use two cups)
Mozzarella
Brown beef and prepare rice. Grease pan (to be perfectly honest, I know not the size of the pan I use... it's at least 1/2 the size of a 9x13 if not more). After the beef and rice are ready, put sauce at the bottom of the pan then rice, then sauce and beef and cheese. Add one more layer of rice then beef and top it off with cheese. (I normally put tin foil on mine so it doesn't burn) Then put in preheated 400 oven for approximately 20 minutes or until it reaches the heat you desire. The way I layered mine is no exact to the link, but it all basically turns out the same.

Monday, June 21, 2010

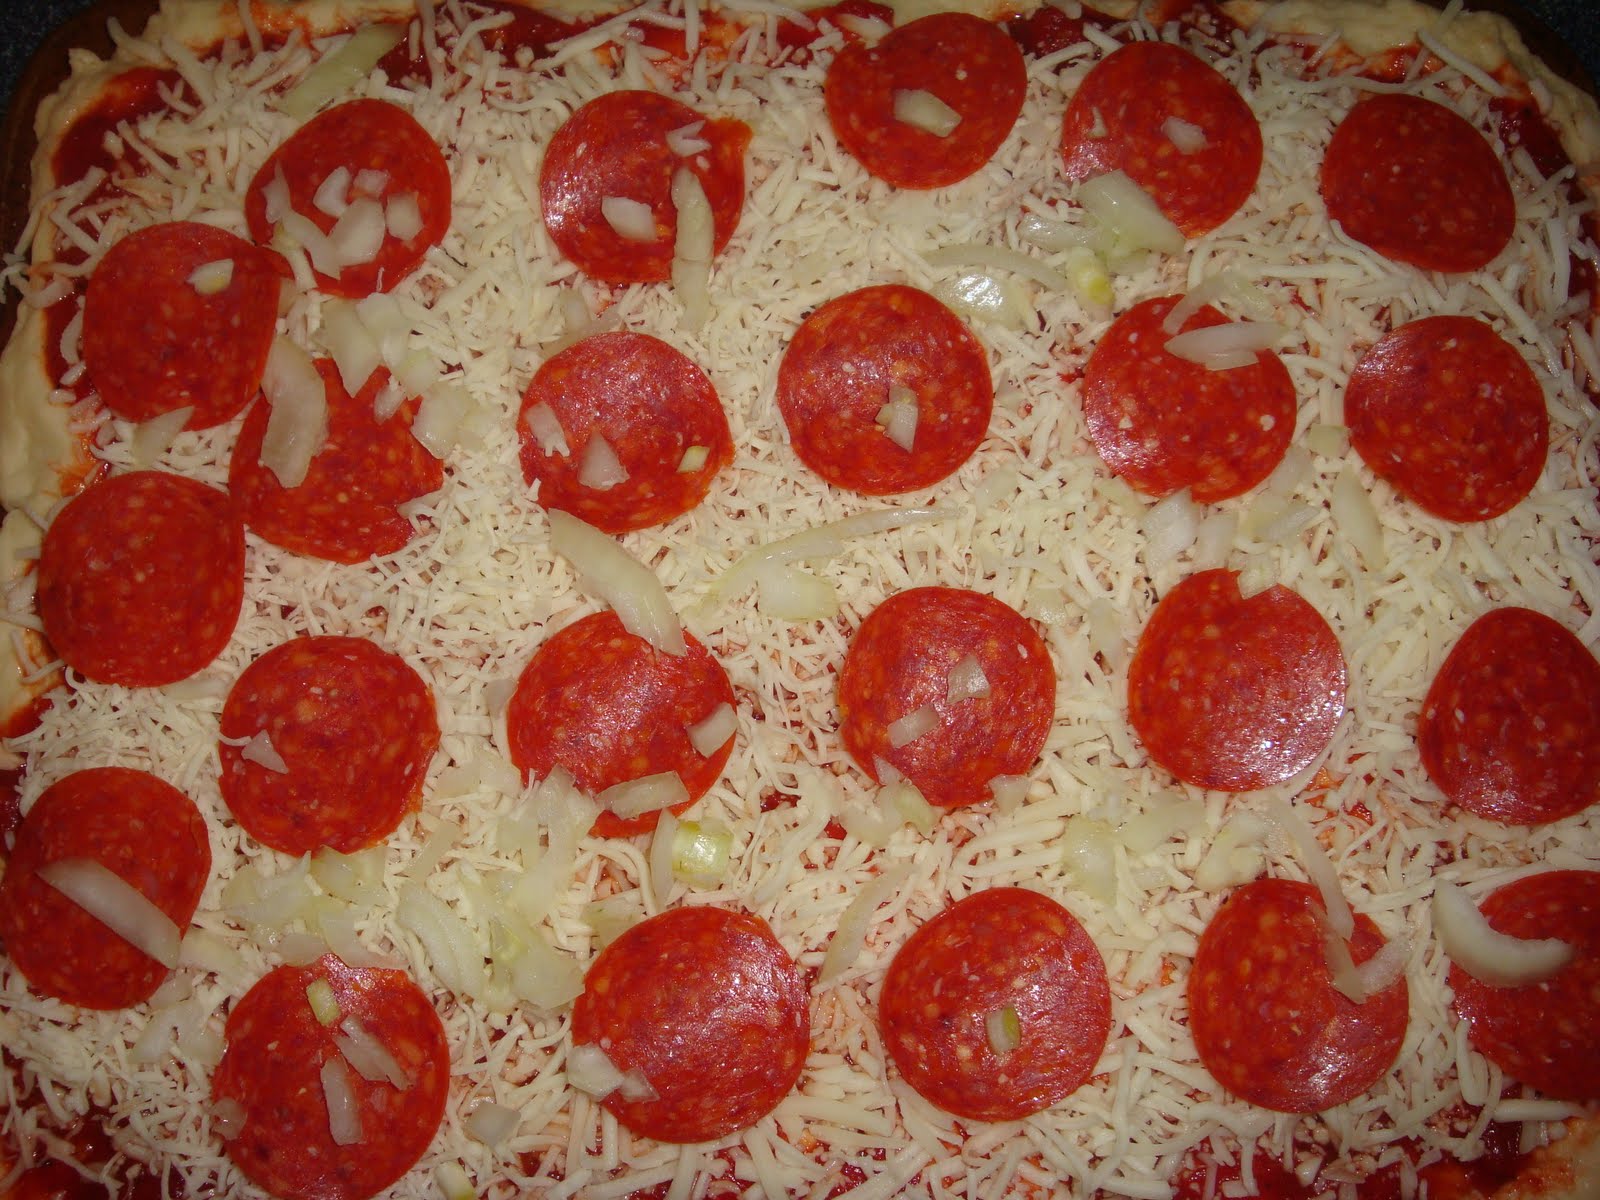
A Classic- Pizza


Pizza, pizza, pizza!! I love pizza, and I have taken recently to making it about every other week. There is a dough recipe that I have always used, one that my mom had gotten from somewhere and she made it all my growing up years (or better phrased, she made it up until her children were old enough to make it:). This recipe is great and I love it, it's one problem is that it is time consuming; and the last time I wanted to make pizza, I had a lot to do in the afternoon and needed something that wouldn't have to rise as long. My sister told me about this recipe that didn't have to rise as long. I tried it and it turned out great. The one difference is the sugar, I don't know why that cuts the rising time in half, but it did and it was still enough. I often double the recipe to make two pizzas instead of one and let it rise the same amount of time (I wouldn't more than double it though).


1 Package, or 1 Tablespoon, yeast (if doubling, do not double yeast)


1 cup warm water


2 cups bread flour (all-purpose is what I use)


2 tablespoons olive oil (if you don't have olive oil, canola works just as well)


1 teaspoon salt


2 teaspoons white sugar (if you leave this out, the recipe will be fine, just let the dough rise for an hour instead of 30 minutes)


In a small bowl, dissolve yeast in warm water. Let stand until creamy, about 10 minutes. (I just let it stand for 5 minutes)


In large bowl, combine 2 cups flour, olive oil, salt, sugar and yeast mixture; stir well to combine. Beat well until stiff dough has formed. Cover and let rise until double in volume, about 30 minutes. Meanwhile, preheat oven to 350F. (Note: I normally put my oven to 415F and bake for 12-15 minutes).


Turn dough out onto a well floured surface. Form dough into a round and roll out into a pizza crust shape. Cover with your favorite sauce and toppings and bake in preheated oven until golden brown, about 20 minutes.


Thursday, May 20, 2010

Cinnamon Rolls

I am a big sucker for homemade pastries... emphasis on the big. I don't have a lot of time to make them, as most are very much time consuming.... but every once in awhile, the craving hits me for one of those HOT and FRESH, out of the oven delights. And I have to give in, simply have to. Well, ok, maybe I don't have to, but I do.

Anyway, so one of those cravings hit me this week, and it happened to be for some cinnamon rolls. There is only one recipe that I have ever used for cinnamon rolls, I have been using it for several years. I actually got it out of a fiction book based back in frontier days and this lady had a bakery and she made these, and... ok, back to the cinnamon rolls... In this recipe was an optional filling that I had never seen before, chocolate chips rather than nuts with the cinnamon sugar. I wasn't sure how it would taste, but I tried it, and LOVED it. Some people are not a fan of
cinnamon rolls with chocolate chips, and if that's the case, you don't have to put them on the whole thing, or even at all. Cinnamon sugar works well by itself. I often put chocolate chips on half and leave the other half with just the cinnamon sugar.


These things may look difficult, but they aren't really. Just time consuming. In fact, it's really easy, when you get right down to it. Just try them, you'll love them.


Dough:

2 packages yeast (or 2 tblsp)
1/2 cup sugar, divided
1 cup warm water
1 cup milk
1/2 cup shortnening
1 tblsp salt
2 eggs, slightly beaten
6 cups flour


Filling:
1/4 cup sugar
4 tsp cinnamon
2-4 tsp softened butter
1/2 cup raisins (optional)
1/2 cup pecans (optional)
1/2 chocolate chips (optional)


Glaze:
1 cup confectioners sugar
2 tsp sugar
1 tsp vanilla


Dissolve yeast and 1/4 cup sugar in water. Set aside.


In saucepan, scald milk (don't quite boil it, but heat till it's bubbly around the edges.) Add shortening, 1/4 cup sugar, and salt. Stir until shortening is melted. Cool until just warm to the touch. (Here, I must say that I do not scald the milk, but rather put the milk , shortening, sugar, and salt into the microwave until the shortening has started to melt. Then I let it cool a little before dumping it into the yeast.) Add to the yeast mixture. Add eggs; stir well. Add 3 cups flour; stir until mixture is smooth and well blended. Add 3 more cups flour, or as much as is needed to make a soft but easily handled dough.


On a lightly floured surface, knead dough until smooth and elastic, about 5 minutes. (I use the KitchenAid hook to knead, but I do have to knead it by hand for a couple minutes if it becomes too much for the machine.) Place dough in greased bowl, turning to greased top. Cover with a clean cloth and let rise in a warm, draft free place until double. Punch dough down and let stand 10 minutes (ooops, forgot that 10 minutes last time I made these, and they still tasted good:)


Roll dough into 15x10 inch rectangle. Spread with softened butter or margarine. For filling, combine sugar and cinnamon and sprinkle evenly over dough. If desired, sprinkle optional ingredients over the cinnamon-sugar mixture. Roll dough up from long side, jelly-roll fashion; pinch edge to seal. Slice into about fifteen 1-inch slices.


Arrange slices in a greased 13x9 inch baking pan. Cover and let rise again until doubled in bulk. The past few times that I have made them, I have put them in the pan, and then put them in the fridge overnight. Then in the morning, I take them out and let them sit for half an hour before putting them in the oven. I've heard it's not good to put cold glass into a hot oven, so I obey...for once:).This way, you get fresh rolls for breakfast.


Preheat oven to 375F. Bake rolls about 20-30 minutes. They should be lightly browned both top and bottom. Cool in pan wire rack for 5 minutes; drizzle with glaze.
(I will post more pics later)


Friday, May 14, 2010

Cream Cheese Chicken

I suppose I should start taking pics when I make my meals... but for this first post, I have no pic. It really is simple, which is what I go for since I don't get home till late afternoon. The crockpot and my KitchenAid (which has absolutely nothing to do with this post:) are my best friends in the kitchen. Anyway, back to the recipe.

- 1 chicken cut up, about 3-4 pounds chicken parts (without ribs would work best)
-2 tblsp melted butter
-salt and pepper
-2 tblsp dry Italian salad dressing
-1 can of something soup (as I like to call it... cuz there are quite a few) i.e. cream of chicken, cream of celery, cream of mushroom... any will do
-6 oz. cream cheese, cut in cubes
-1/2 cup dry white wine or sherry (I used vinegar, which gives it a different taste methinks, but a good one)
-1 tblsp finely chopped onion


Wash chicken and pat dry (umm, I only do this cuz I feel guilty if I don't follow the recipe to the letter... well, at least most of the time). Brush with butter and sprinkle with salt and pepper. Place chicken pieces in crockpot. Sprinkle dry salad mix over chicken. Cover and cook on low 5-6 hours (I am gone from about 8 a.m. till at least 6 p.m., yep, that's right, approximately 10 hours minimum. Even though chicken creates its own juices, I normally put in some water... other than that, the chicken will be fine, very tender, but very fine.)

About 1 hour before serving, mix soup, cream cheese, wine and onion in a saucepan. Cook until smooth. Pour over chicken; cover and cook for 30 minutes longer. (Last time I made this recipe, I made the sauce in the morning, and then refrigerated it. So, when I got home, I just had to pour it and wait 30 minutes. The sauce only takes about 10 minutes to make.)

Serve over rice or noodles. (I prefer noodles, well, to be honest, I haven't even tried it over rice cuz I so like the noodles).

I love this recipe, and am now thinking I need to make it again after writing this post. I hope you enjoy it as much as I do if you try it. And if you don't like it, well, umm, to each his/her own:).

Easy Recipe for Chicken in the Crockpot - Easy Recipe for Chicken with Wine

Bitten by the Bug

And so, the proverbial blogging bug has bitten me... I have thought about writing a blog for some time and have finally taken the step from thinking to doing. I love to write, I don't always make much sense, but I enjoy doing it and thought that I'd do this blog on something that I've been doing quite a bit of lately... you got it, cooking/baking. I'm sure that you had no idea that that was what was coming:), there are a lot of culinary blogs out, most of which are much more interesting than mine. I am going to be writing my posts from my personal experience... as I am in the kitchen not necessarily out of pure love and enjoyment, but out of necessity. If I don't cook, truth is, I don't eat... well, at least I don't eat healthy. I am the only one who cooks in my house... except for the occasional chip-in from one of my sisters... But yeah, I am the Chef in my house:) And with that, I will share my first recipe with you... one of my all-time faves... Enjoy!!